
How to Prepare Your Home for a Real Estate Photography Session
Professional photography is one of the most important investments you can make when selling a home. Great images create strong first impressions, attract more online views, and encourage buyers to schedule showings.
The good news? A little preparation goes a long way.
Here are my recommendations to help your home look its absolute best on photo day.


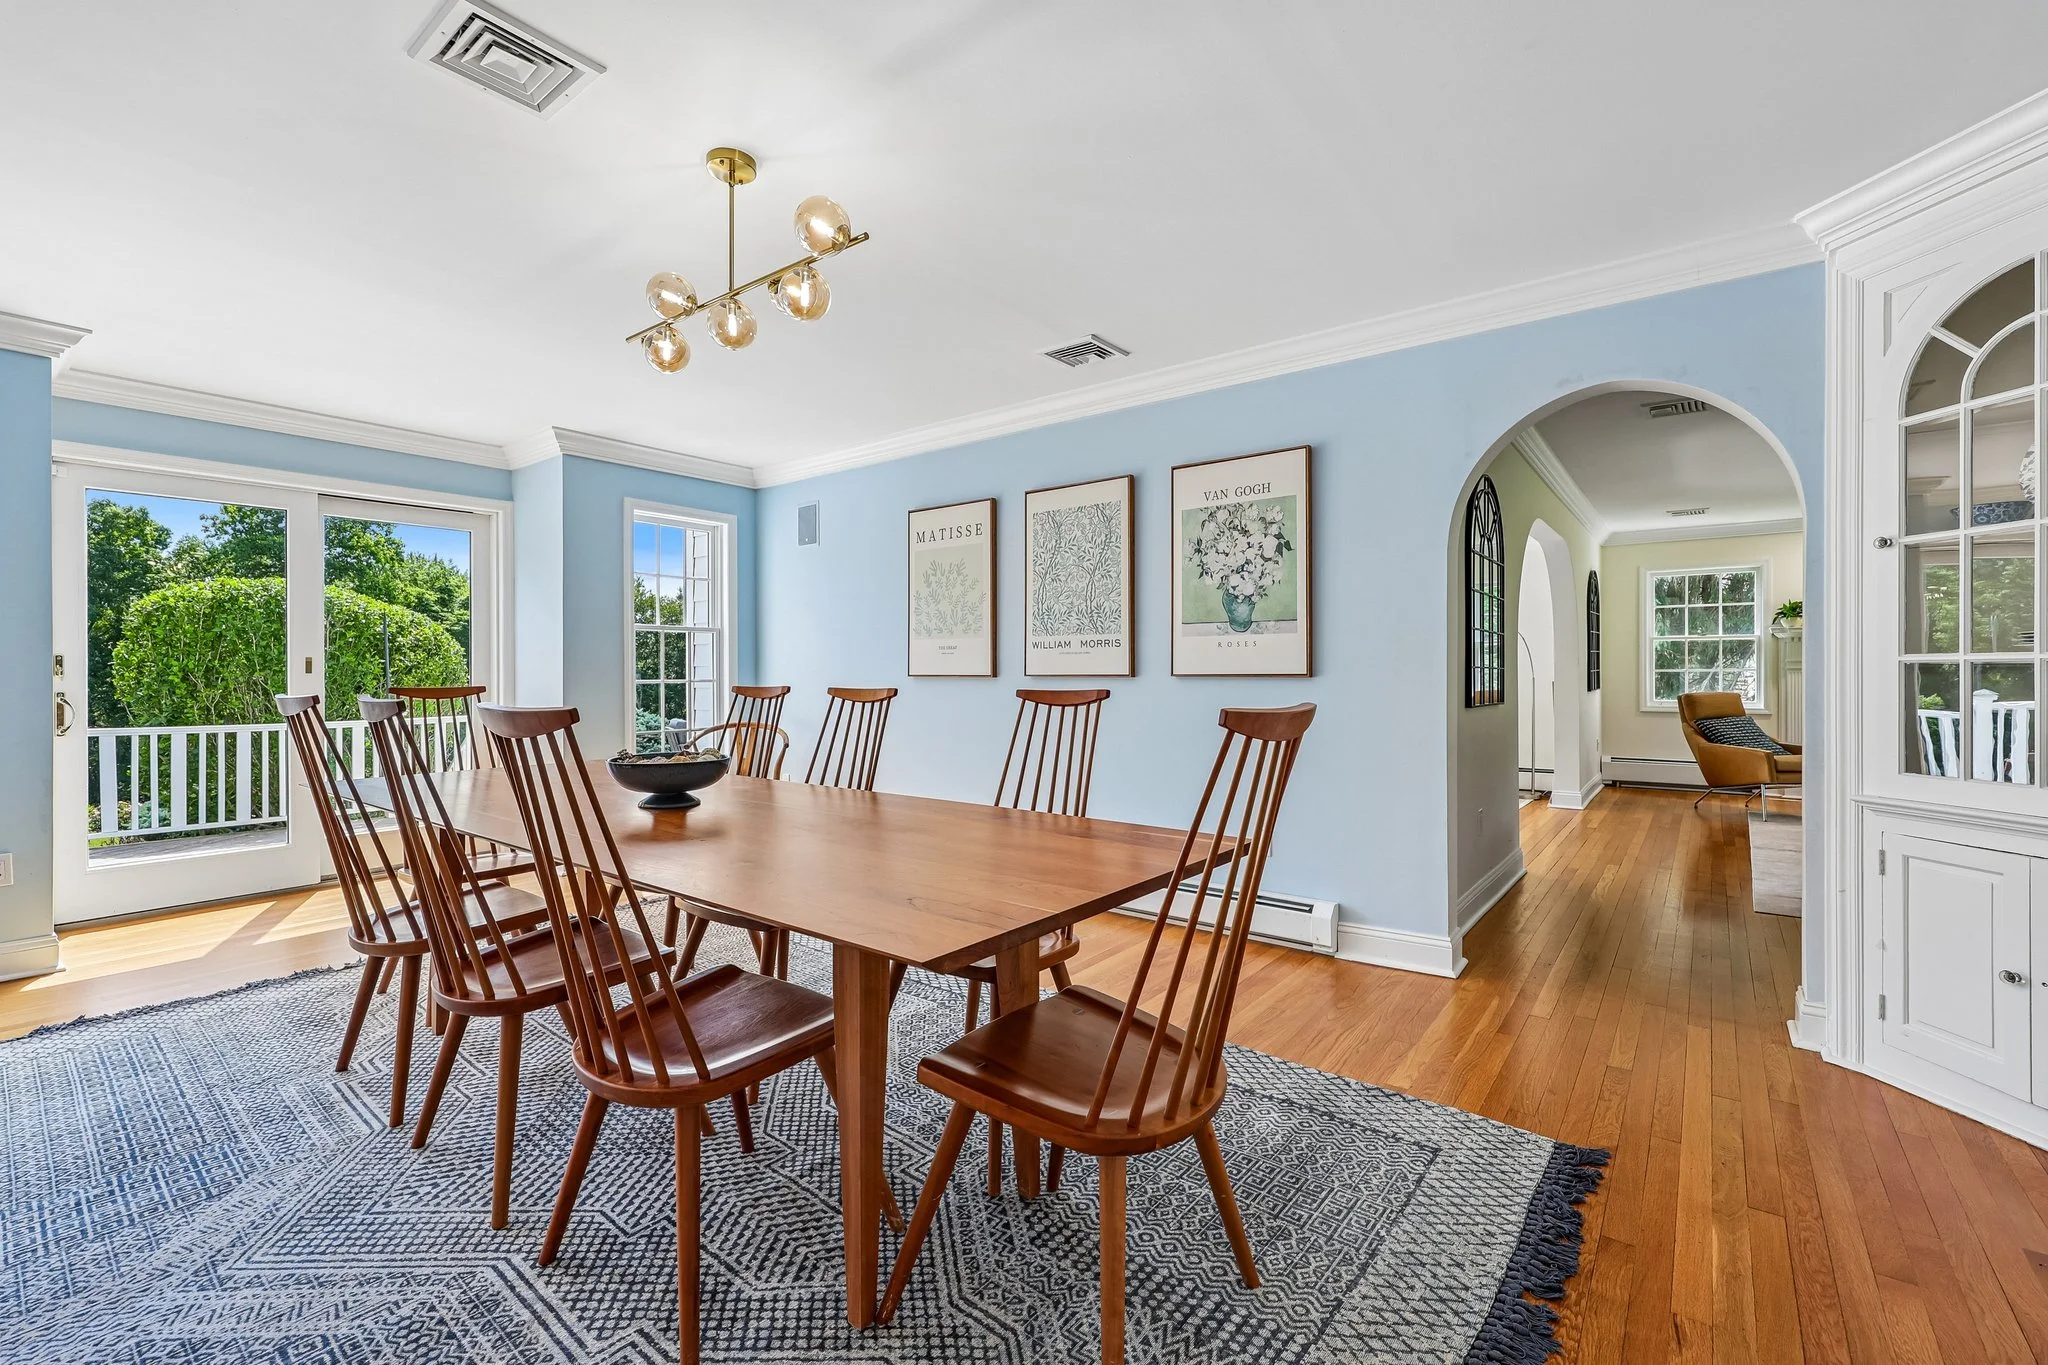
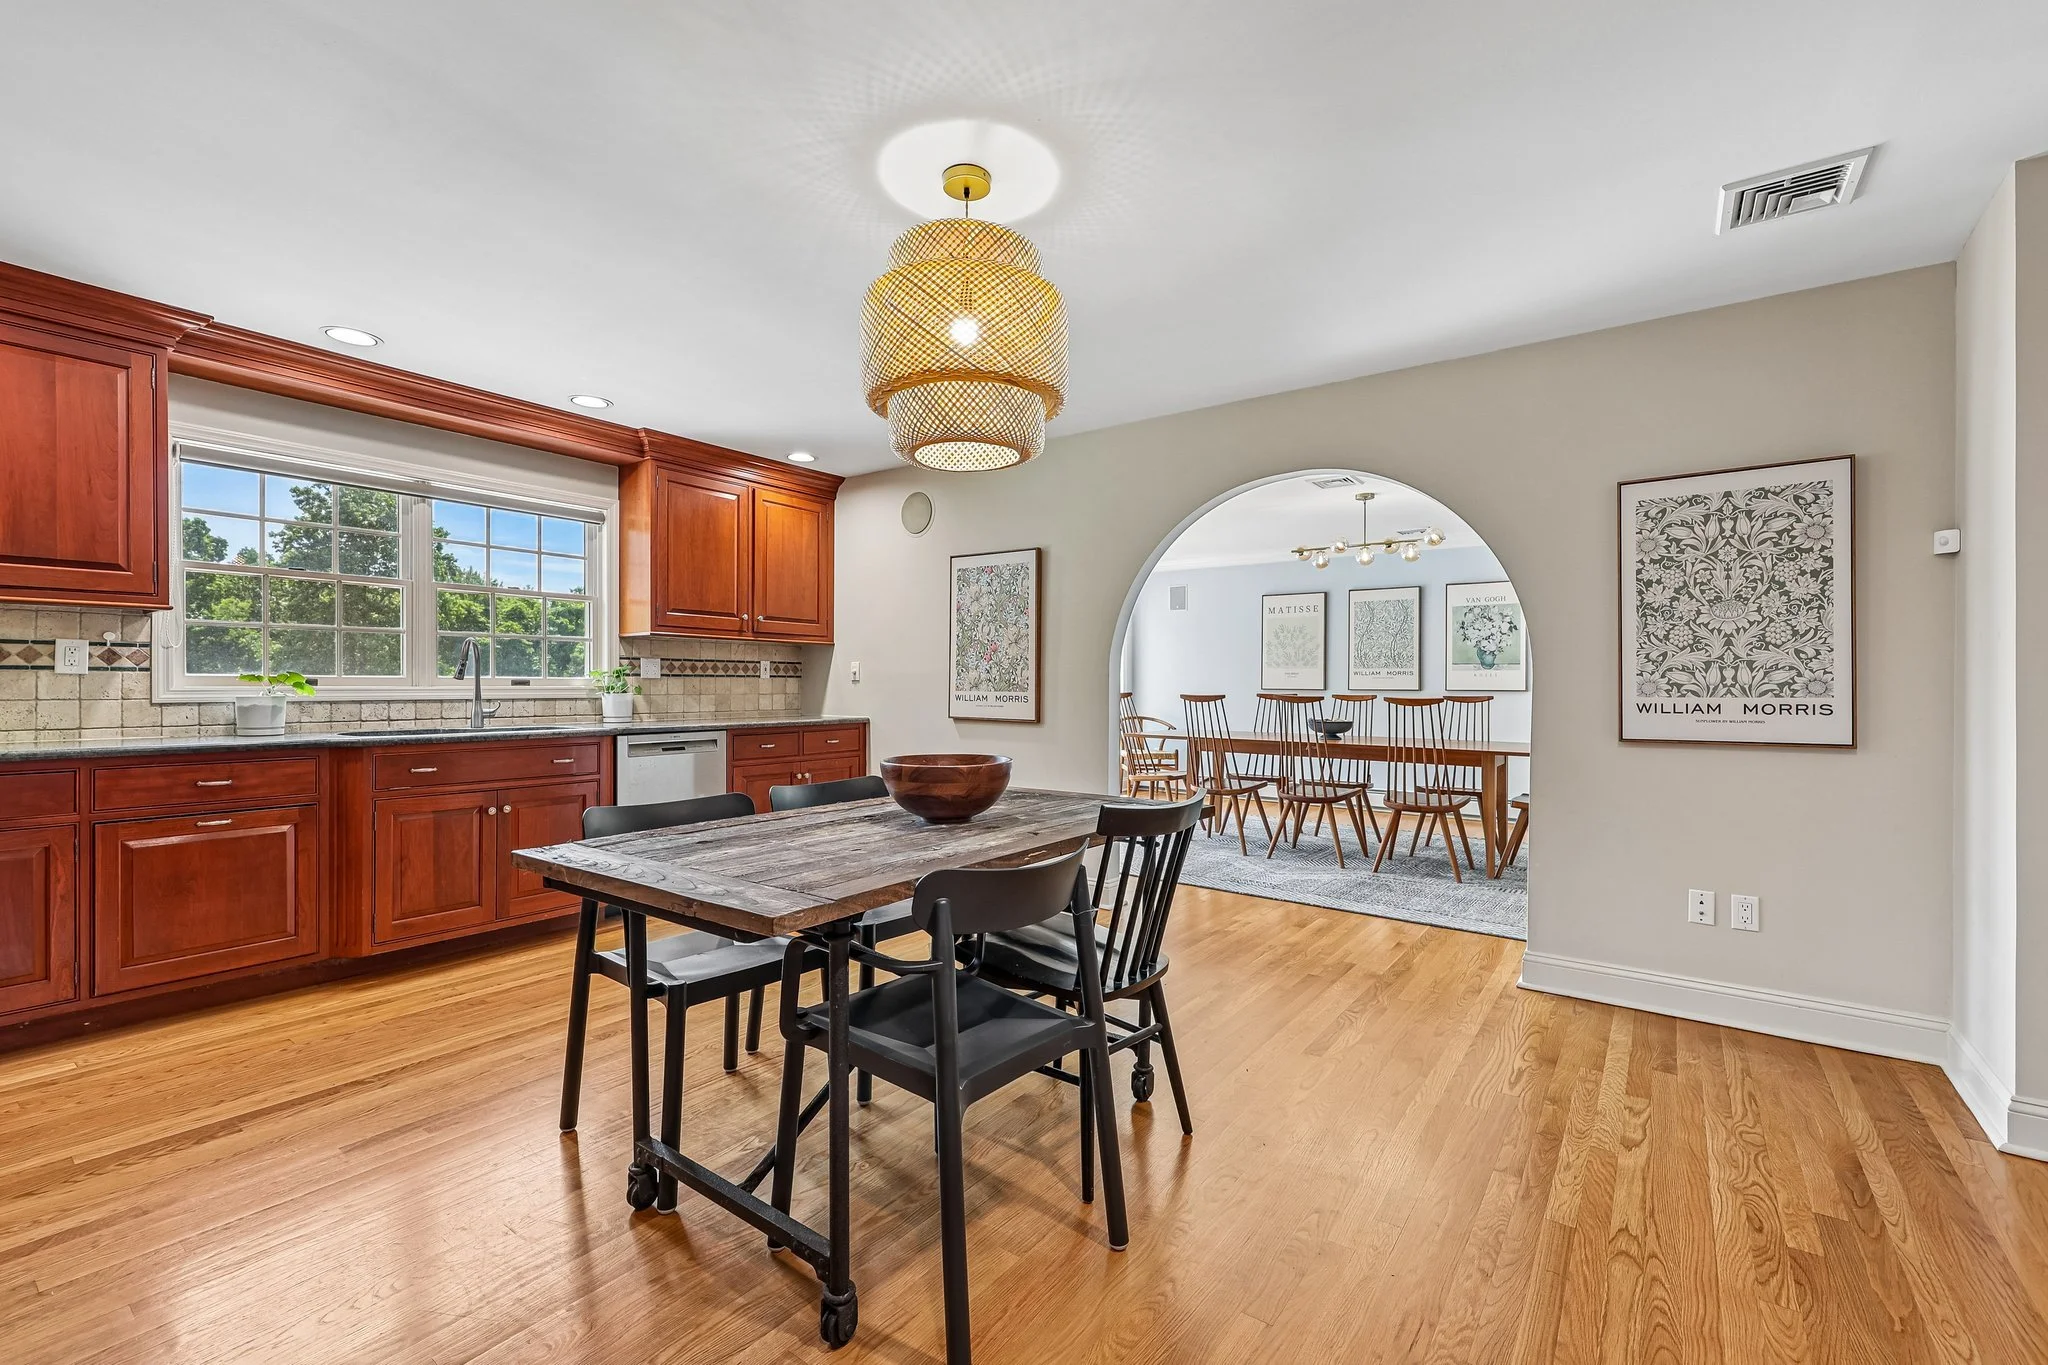


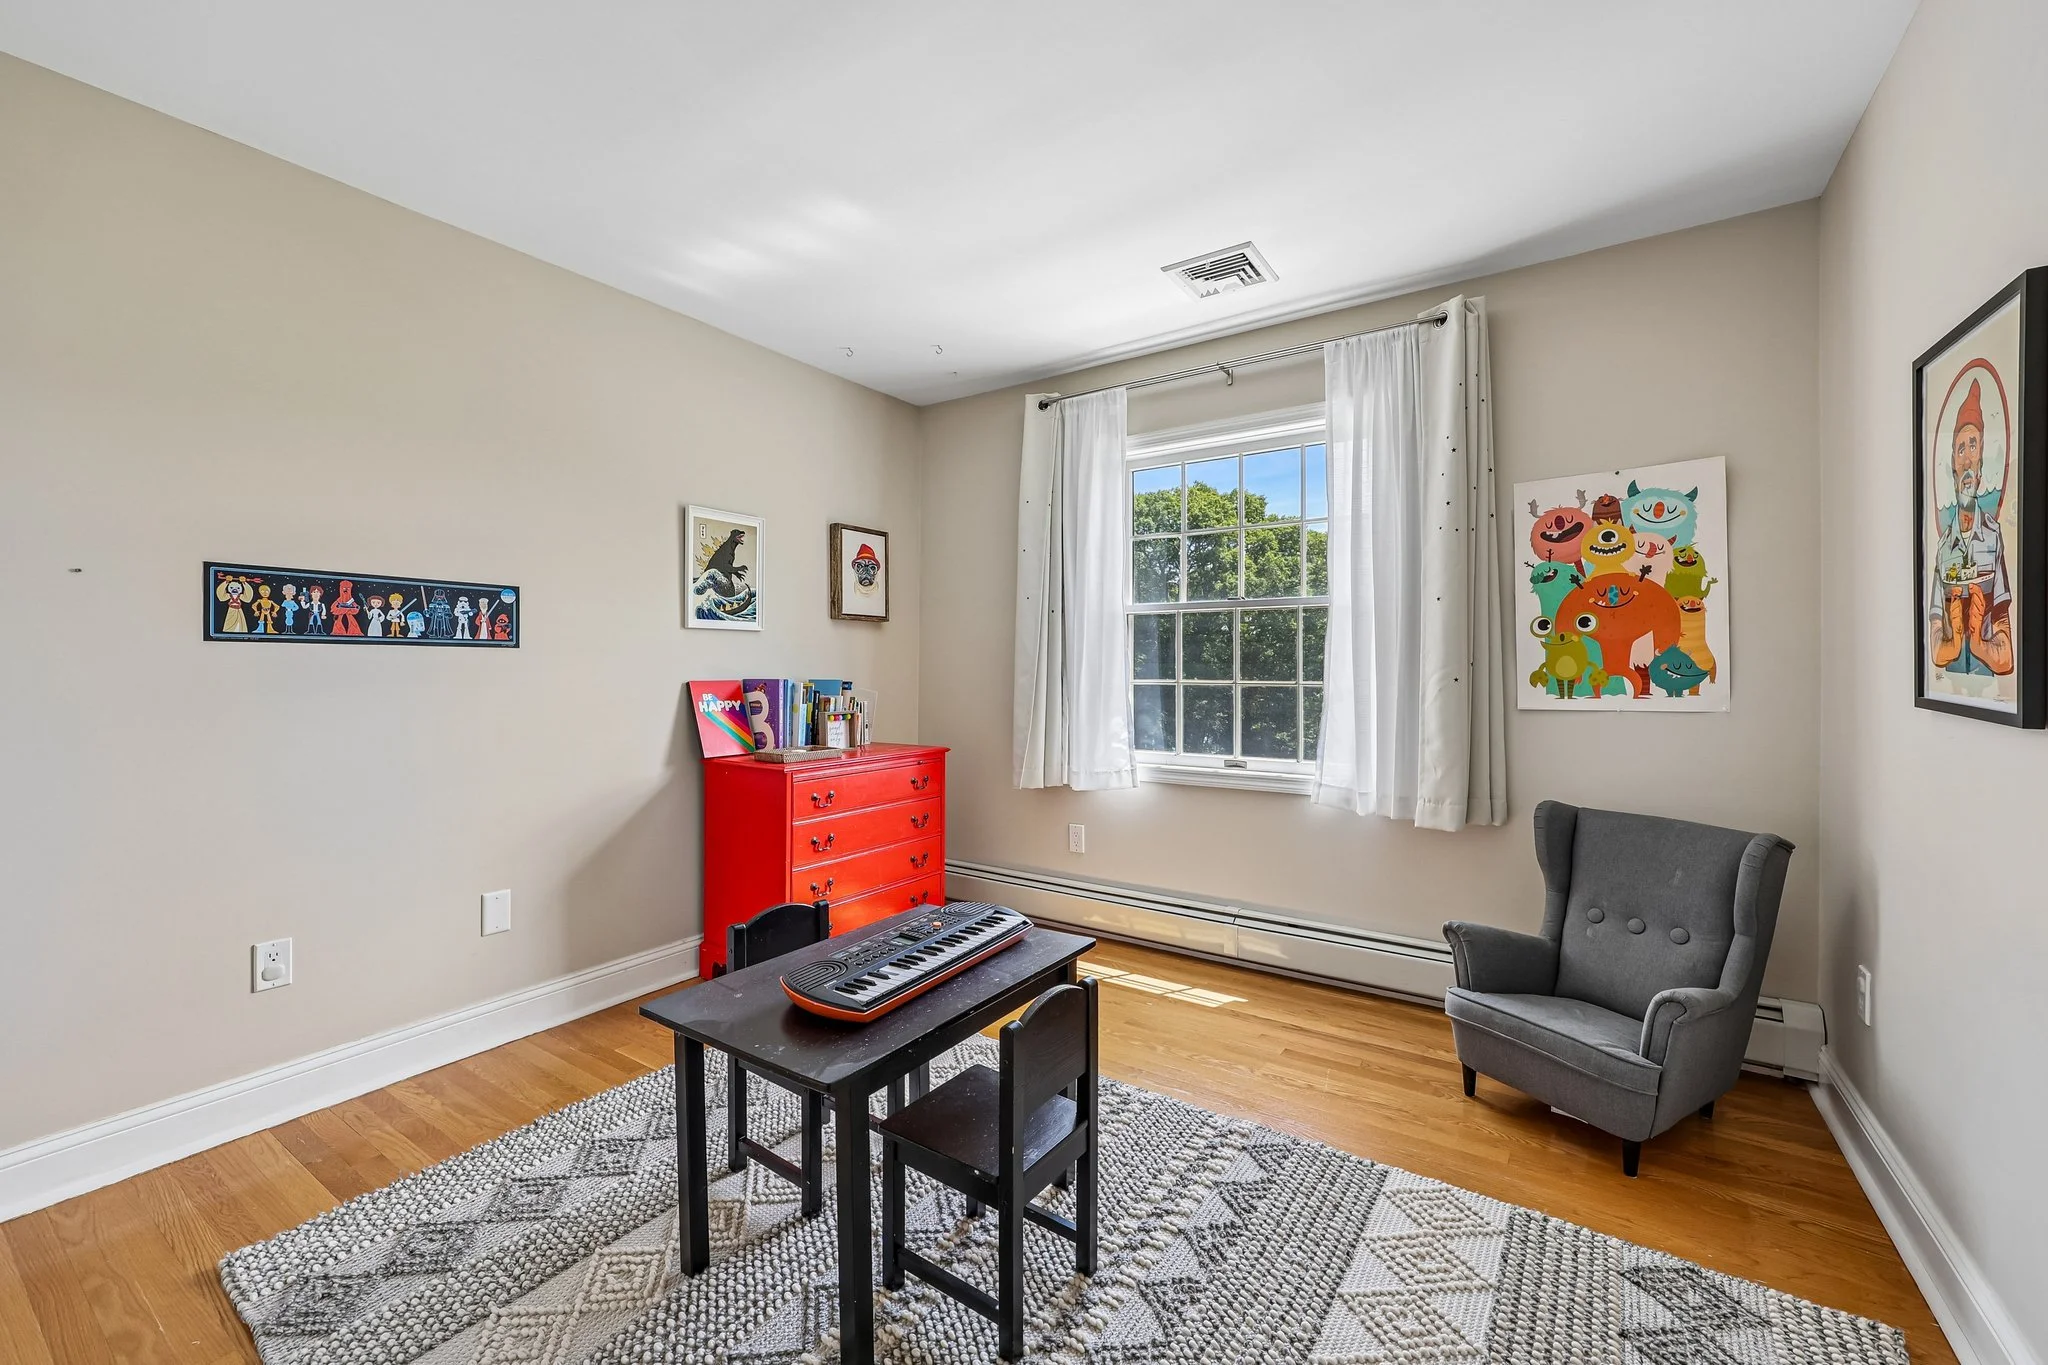
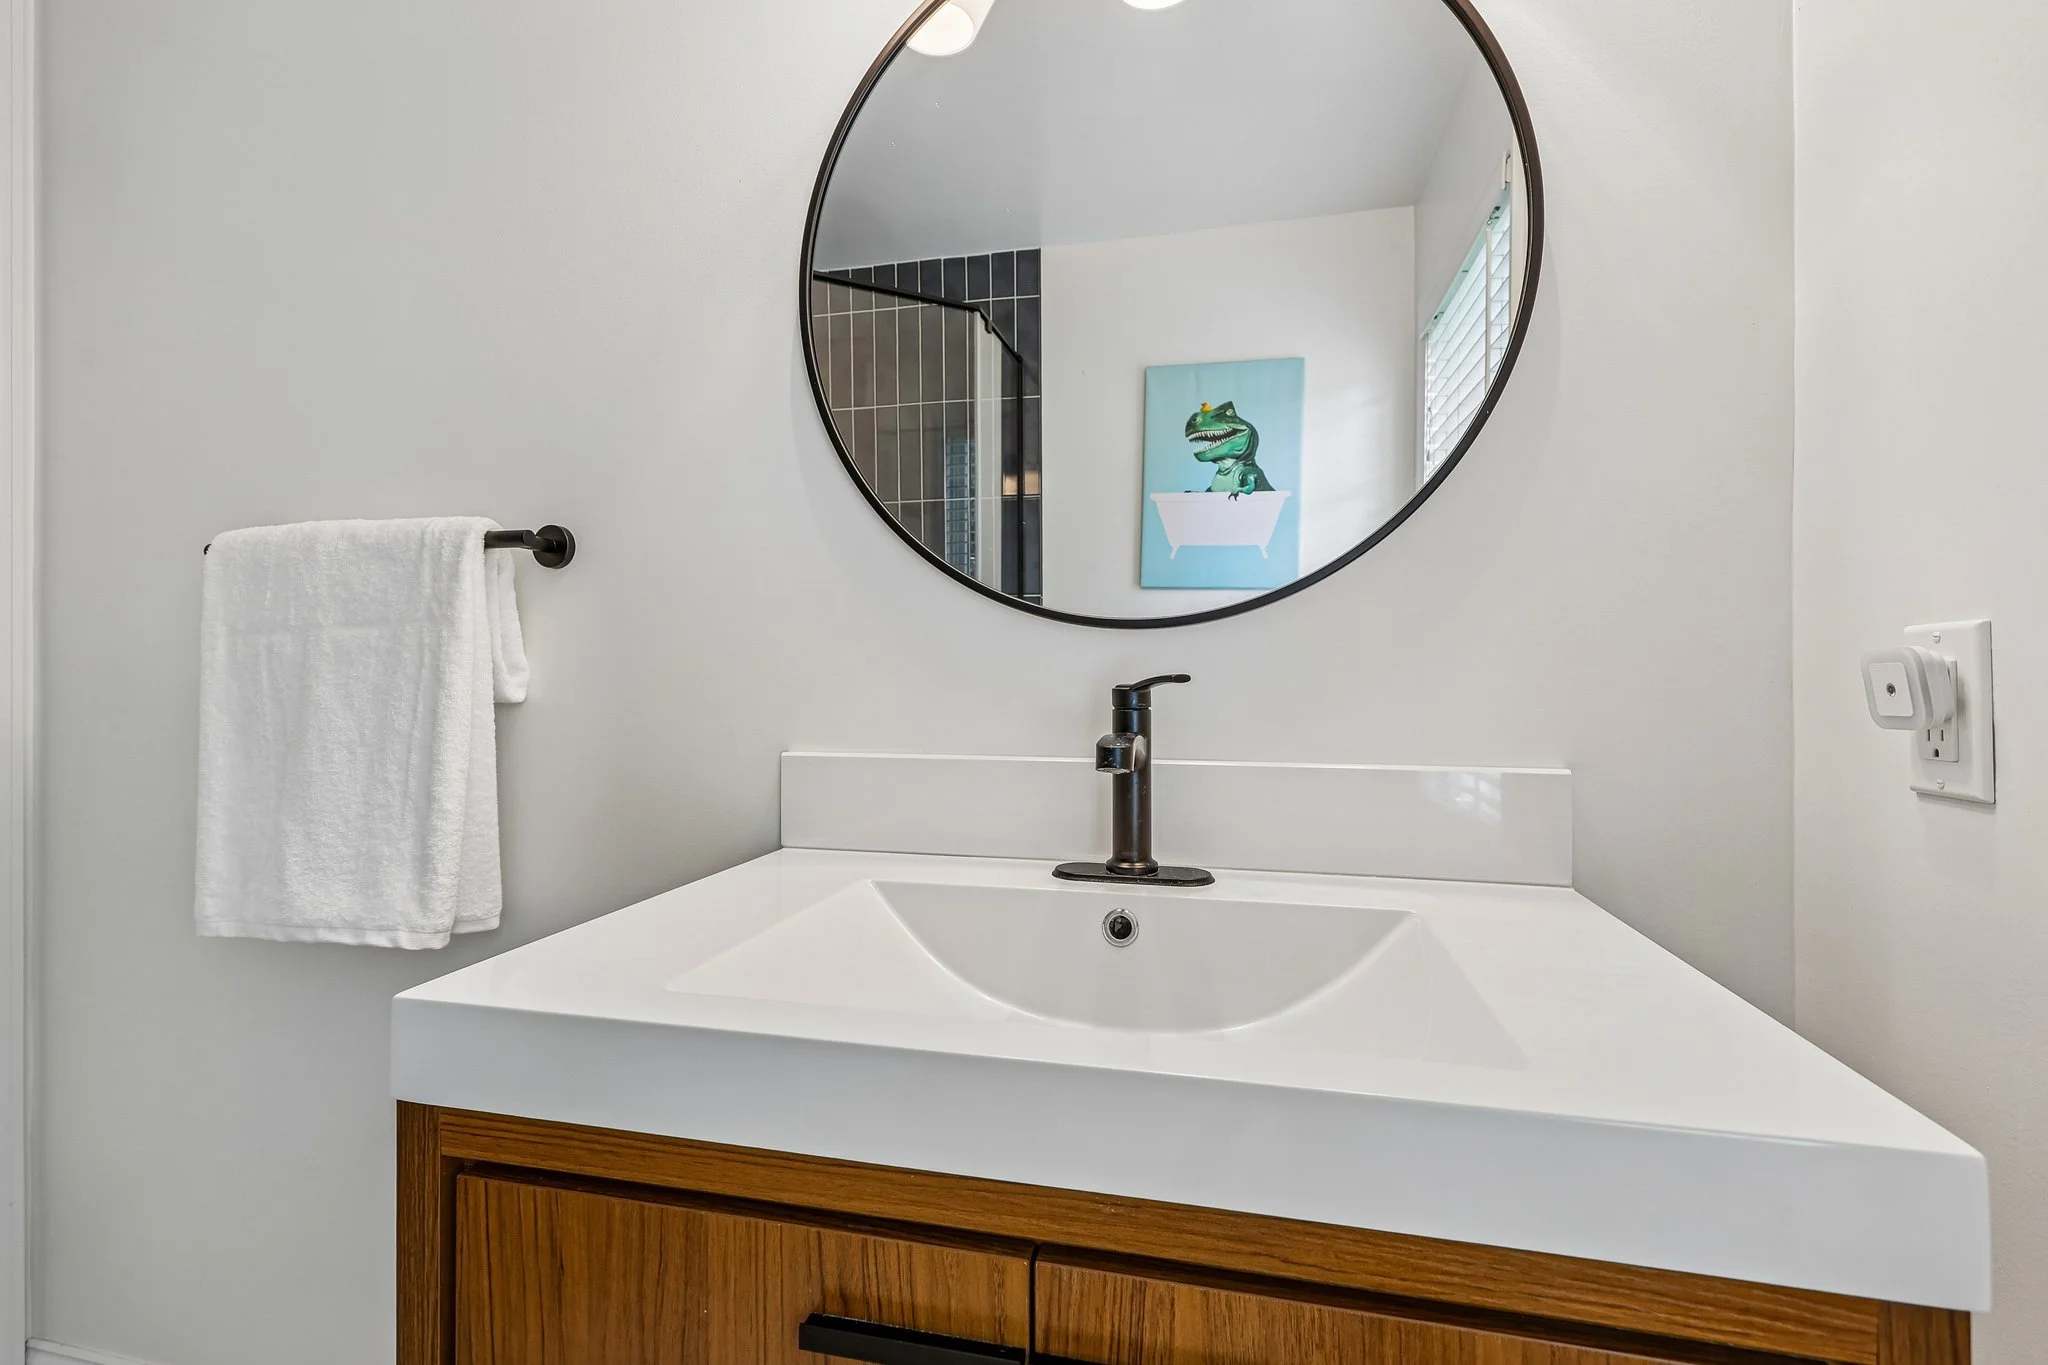
Examples of a client’s perfectly staged home in West Nyack, NY.
1. Start with a Deep Clean
Photography captures details that our eyes often overlook. Before your session, try to:
Dust furniture and surfaces
Clean windows and mirrors
Vacuum carpets and mop floors
Remove fingerprints from stainless steel appliances
Hide trash cans, cleaning supplies, and pet items
Think of the home as if buyers are walking through it for the very first time.
2. Declutter Every Room
Less is more when it comes to real estate photography. Buyers want to imagine themselves living in the space, so reducing personal items helps create a clean, welcoming look.
Remove or minimize:
Family photos
Refrigerator magnets and notes
Excess decorations
Countertop appliances
Toys and pet accessories
Shoes, coats, and everyday clutter
The goal isn't to make the home look empty—it's to make it feel spacious and inviting.
3. Clear Kitchen and Bathroom Counters
These are two of the most important rooms in a home, and clean surfaces make them appear larger and more luxurious.
Try to keep only a few decorative items visible, such as:
A bowl of fresh fruit
A small plant
A neatly folded hand towel
A simple soap dispenser
Everything else should be stored away if possible.
4. Make the Beds
Bedrooms should feel clean, comfortable, and move-in ready.
Before the session:
Straighten comforters and pillows
Remove extra blankets and clothing
Hide laundry baskets
Store personal items on nightstands
A well-made bed instantly elevates the look of a room.
5. Open the Curtains and Blinds
Natural light helps homes feel bright and welcoming.
Before I arrive:
Open blinds and curtains throughout the house
Turn on all interior lights
Replace any burned-out bulbs
Use matching bulb colors whenever possible
This helps create a consistent, inviting look in the final images.
6. Pay Attention to the Exterior
The first photo buyers see is often the exterior, so curb appeal matters.
A few simple tasks can make a big difference:
Move vehicles out of the driveway
Put away garbage and recycling bins
Mow the lawn if needed
Sweep walkways and patios
Remove hoses, toys, and yard equipment
A clean exterior sets the stage for everything that follows.
7. Prepare Pets for Photo Day
We love pets—but buyers need to focus on the home.
If possible:
Arrange for pets to be out during the session
Store food bowls, beds, and litter boxes
Remove pet toys from main living areas
This makes the process smoother and helps keep the focus on the property.
8. Plan to Step Out During the Session
The best results happen when photographers can work efficiently without people moving through the home.
If possible, homeowners should plan to leave during the appointment, taking children and pets with them. This allows us to work quickly and ensures every room is photographed at its best.
Final Thoughts
Professional photography is one of the most powerful marketing tools when selling a home. A little preparation beforehand helps us create images that showcase the property's best features and make a strong first impression online.
If you have any questions before your session, I'm always happy to help guide you through the process. The more prepared we are on photo day, the better the final results will be.